What Is An ISO File (And How Do I Use Them)?
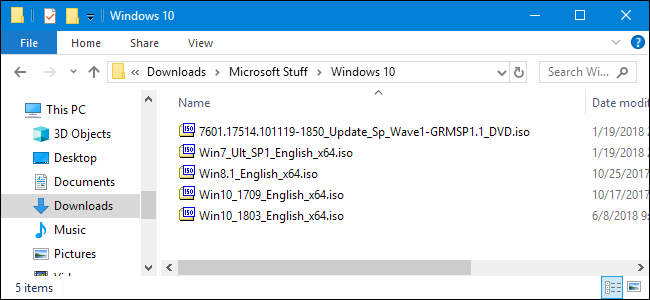
An ISO file (often called an ISO image), is an archive file that contains an identical copy (or image) of data found on an optical disc, like a CD or DVD. They are often used for backing up optical discs, or for distributing large file sets that are intended to burned to an optical disc.
What is an ISO Image?
The name ISO was taken from the name of the file system used by optical media, which is usually ISO 9660. You can think of an ISO image as a complete copy of everything stored on a physical optical disc like CD, DVD, or Blu-ray disc—including the file system itself. They are a sector-by-sector copy of the disc, and no compression is used. The idea behind ISO images is that you can archive an exact digital copy of a disc, and then later use that image to burn a new disc that’s in turn an exact copy of the original. Most operating systems (and many utilities) also allow you to mount an ISO image as a virtual disc, in which case all your apps treat it as if a real optical disc were inserted.
While many people do use ISO images for creating backups of their optical disc, ISO images these days are used primarily for distributing large programs and operating systems, because it allows all the files to be contained in one easily downloadable file. People can then decide whether they want to mount that image or use it to burn an optical disc.
Most downloadable operating systems, including Windows and various Linux distros are distributed as ISO images. This comes in handy when downloading the current version of Ubuntu to install on your machine or installing that old game disc on a laptop without a physical drive.
RELATED: Why You Should Update All Your Software
How To Mount An ISO Image
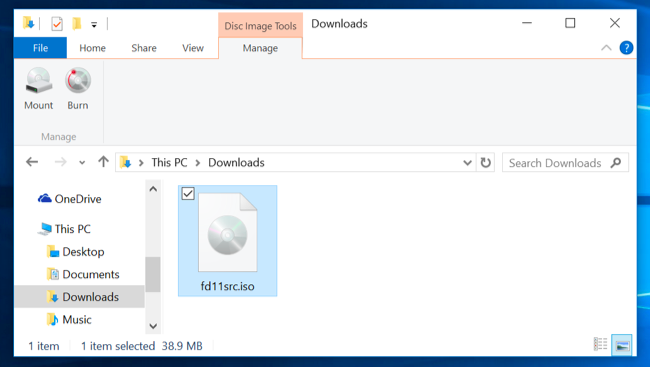
Mounting an ISO image allows you to mount the ISO image in a virtual optical disc drive. All your apps will treat the image as though it were an actual physical disc.
Windows 8, 8.1, and 10 all let you mount an ISO image without any third-party software. Just select the image in File Explorer, and then head to Manage > Mount.
If you have Windows 7 (or previous), you’ll need a third-party app like the free, open-source, and simple WinCDEmu utility.
RELATED: What Is Instagram Reels, and Is It a TikTok Clone?
How To Burn An ISO Image To Disc
Burning an ISO to a physical disc comes in handy when you want to create a disc that you’ll use to install the software or OS onto another machine. It’s particularly useful when you’re installing an operating system (or creating a utility disc) and need to use that disc to boot a system. It can also be handy for creating a physical backup copy of a disc, or if you just need to hand off a copy to someone else.
Windows 7, 8, and 10 have a feature for burning an ISO image to disc built right in. All you have to is insert a writable optical disc, right-click the ISO image, and then select the “Burn Disk Image” command.

Note: If you don’t have an optical disc writer on your PC, you won’t see the command. Also, if you have a compression app (like 7-Zip) installed, and it’s associated with the ISO file extension, you also won’t see the command. We’ll talk about that a bit more in the next section.
macOS works pretty much the same way. Select the image file in Finder, and then head to File > Burn Disk Image (Name) to Disc.
How To Extract An ISO Image
If you don’t want to mount an ISO or burn it disc, but still need to access to the files inside, you can extract the contents to your PC. For this, you’ll need a third-party app like WinRAR or 7-Zip. We like 7-Zip around here because it’s free, open-source, and plenty powerful.
When you install 7-Zip, it associates the .iso file extension with the app. So, all you have to do is double-click an ISO image to open it up and browse its contents. Depending on the size of the ISO, this can take up to a minute, so be patient.
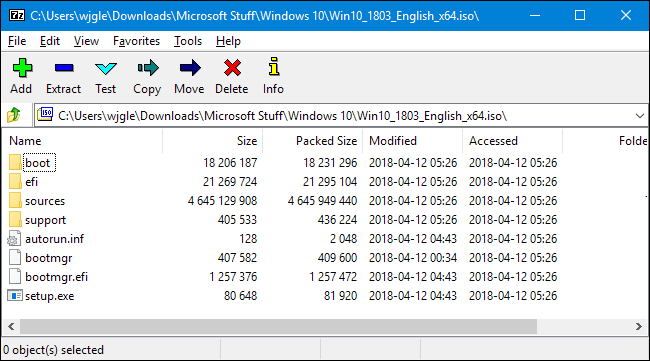
You can copy anything from the ISO to a regular folder just by dragging and dropping.
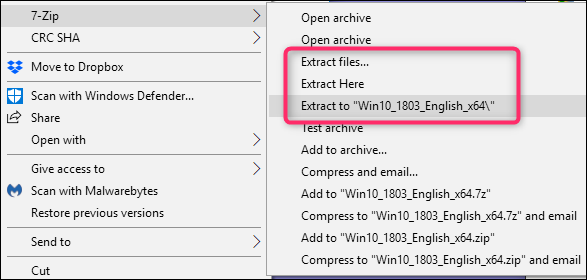
If you prefer, you can also extract the full contents of the ISO to a normal folder. Just right-click the ISO, point to the “7-Zip” menu, and then choose one of the extraction commands. The “Extract Files” command lets you choose a location, the “Extract Here” command extracts files to the same location as the ISO file, and the “Extract To folder_name” command creates a new folder in that location to which to extract.
Other compression apps, like WinRar, work pretty much the same way.
There is one other important thing to note here. If you install a compression app like 7-Zip or WinRar, and you let that app associate itself with ISO files, you’ll no longer see the built-in commands in File Explorer for working with those image files. It’s better to have Windows Explorer associated with ISO files because you can still right-click them and access the compression apps commands whenever you want. All you lose is the ability to double-click them to open them in the compression app.
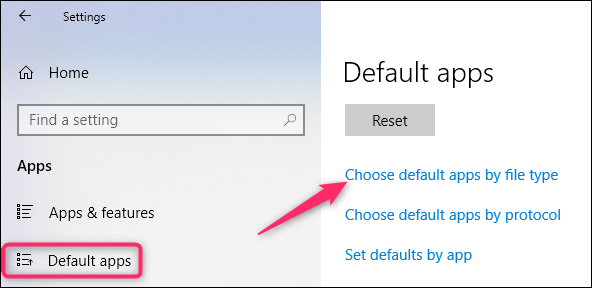
If you’ve already installed one of those apps, can quickly reassociate the ISO file extension with Windows Explorer. Head to Settings > Apps > Default Apps. On the right, scroll down and click the “Choose default apps by file type” link.
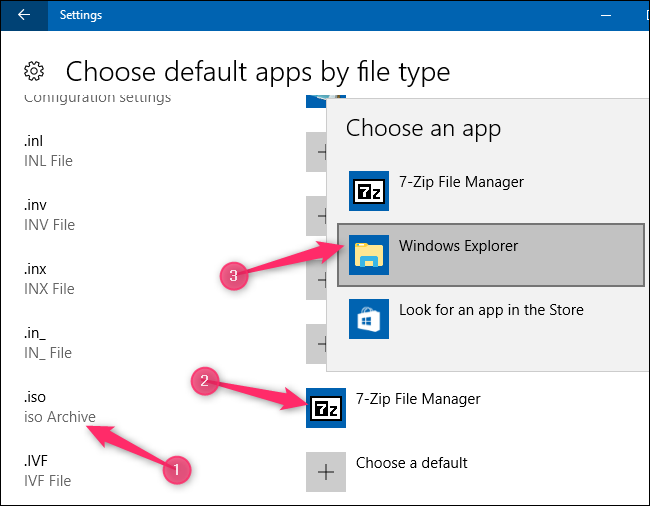
The next window shows a very long list of file extensions. Scroll all the way down to the .iso extension. On the right, click whatever app is currently associated with the extension. On the popup menu, choose the “Windows Explorer” option.
How To Create Your Own ISO File From an Optical Disc
Creating an ISO file from discs gives you to create a digital back up of your physical discs. You can then use the files by mounting them on computers that don’t have an optical drive. You can also use the files in the future to burn another copy of your disc. And, of course, you can share that ISO with other people.
While macOS and Linux both come with software pre-installed that lets you create an ISO from a physical disc, Windows does not. Instead, you’ll have to download a third-party app to create an ISO file in Windows. For that, we recommend Ninite as a safe place to grab tools of all sorts. On the ISO front, Ninite includes tools like InfraRecorder, ImgBurn, and CDBurnerXP. Just be sure to download them through Ninite. Some of these programs—like ImgBurn—do include junkware in their installers if you get them from elsewhere.
Whatever OS you’re using, be sure to check out our complete guide to creating ISO files from discs for more information.


Leave a reply